

FSP power supply
FSP power supply
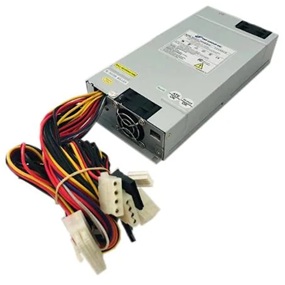

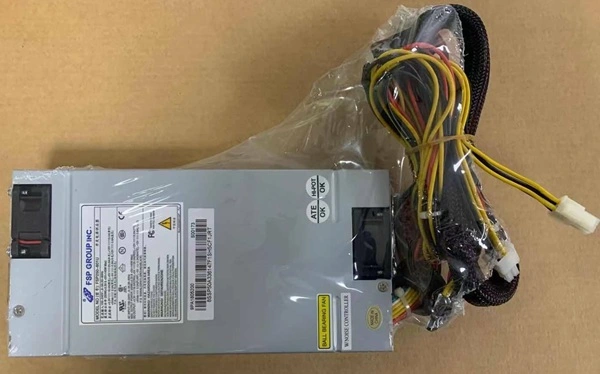
Brand new FSP -5V 1U 250W Switching Power Supply FSP250-601U FSP250-601UD.All power supplies are tested by our in house technicians and they are guaranteed to function properly.
Please make sure that you are ordering the correct power supply. All of the compatible models listed below come in different sizes and each size has a different power supply. Please check the part #'s, pictures and specifications carefully to make sure that you are ordering the correct power supply.
This is a FSP250-601U Clone Replacement 1U Power Supply.
250W 1U FSP250-601U server power supply with 5V cable
Voltage 100-240V wide input
Power supply size: 40mm+100mm+ 205mm
Each output voltage parameter:
+ 3.3V–16A + 5V–25.0A
+ 12V1–13.0A -12V–0.8A
+ 5Vsb–2.0A
CONNETOR: 20P * 1
CPU4P * 1
IDE * 3
SATA * 3
Floppy Drive * 1
Compatible Part Numbers:
FSP250-601U,
FSP250-601UD
1.Remove the dead pc power supply Once you've disconnected all the leads, look at the rear of the case and find the three or four screws holding the power supply in place. Remove them, then gently lift out the PS, making sure that the cabling doesn't get tangled on, say, a RAM module or expansion card and accidentally pull it loose.
2. Install the new FSP FSP250-601U Pc power supply Out with the old, in with the new. Make sure the replacement Pc power supply is set to the correct voltage. Once the old PS is out, put the new one in its place and screw it in. Now just reverse the steps you performed: connect the leads to their respective outlets, replace any extracted components, and consult your photos to make sure you've left no lead unplugged. (You'd be surprised how easy it is to forget, say, the DVD lead, especially when you've spent 10 minutes trying to wedge in that pesky front-panel lead.)
3. Fire it up Before you close up the case, make sure everything works. Connect the power cord to the Pc power supply, plug in your monitor and keyboard, and fire up the machine. Unless you've failed to connect the main leads to the motherboard, it should come right to life, just like before. Let it boot completely, then check to make sure there's power to the optical drive(s) and, if applicable, the front panel.
©2012-2025. www.laptopadaptershop.com.au All offers and prices are subject to change without prior notice.Designated trademarks and brands are the property of their respective owners.